Monday, January 31, 2011

Oatmeal Raisin Cookies


I've been playing around with a recipe for oatmeal raisin cookies for a while. Michael declared that this version was "perfect," so I decided to stop playing and to post the recipe before I lose track of what I did. I like oatmeal raisin cookies because I can tell myself that I'm eating a dessert that's good for me. It's mostly oats and raisins, right? I also like the fact that the recipe comes together quickly. So when I'm in a cookie mood, I only have to wait about half an hour because I can bite into one. Or maybe two.

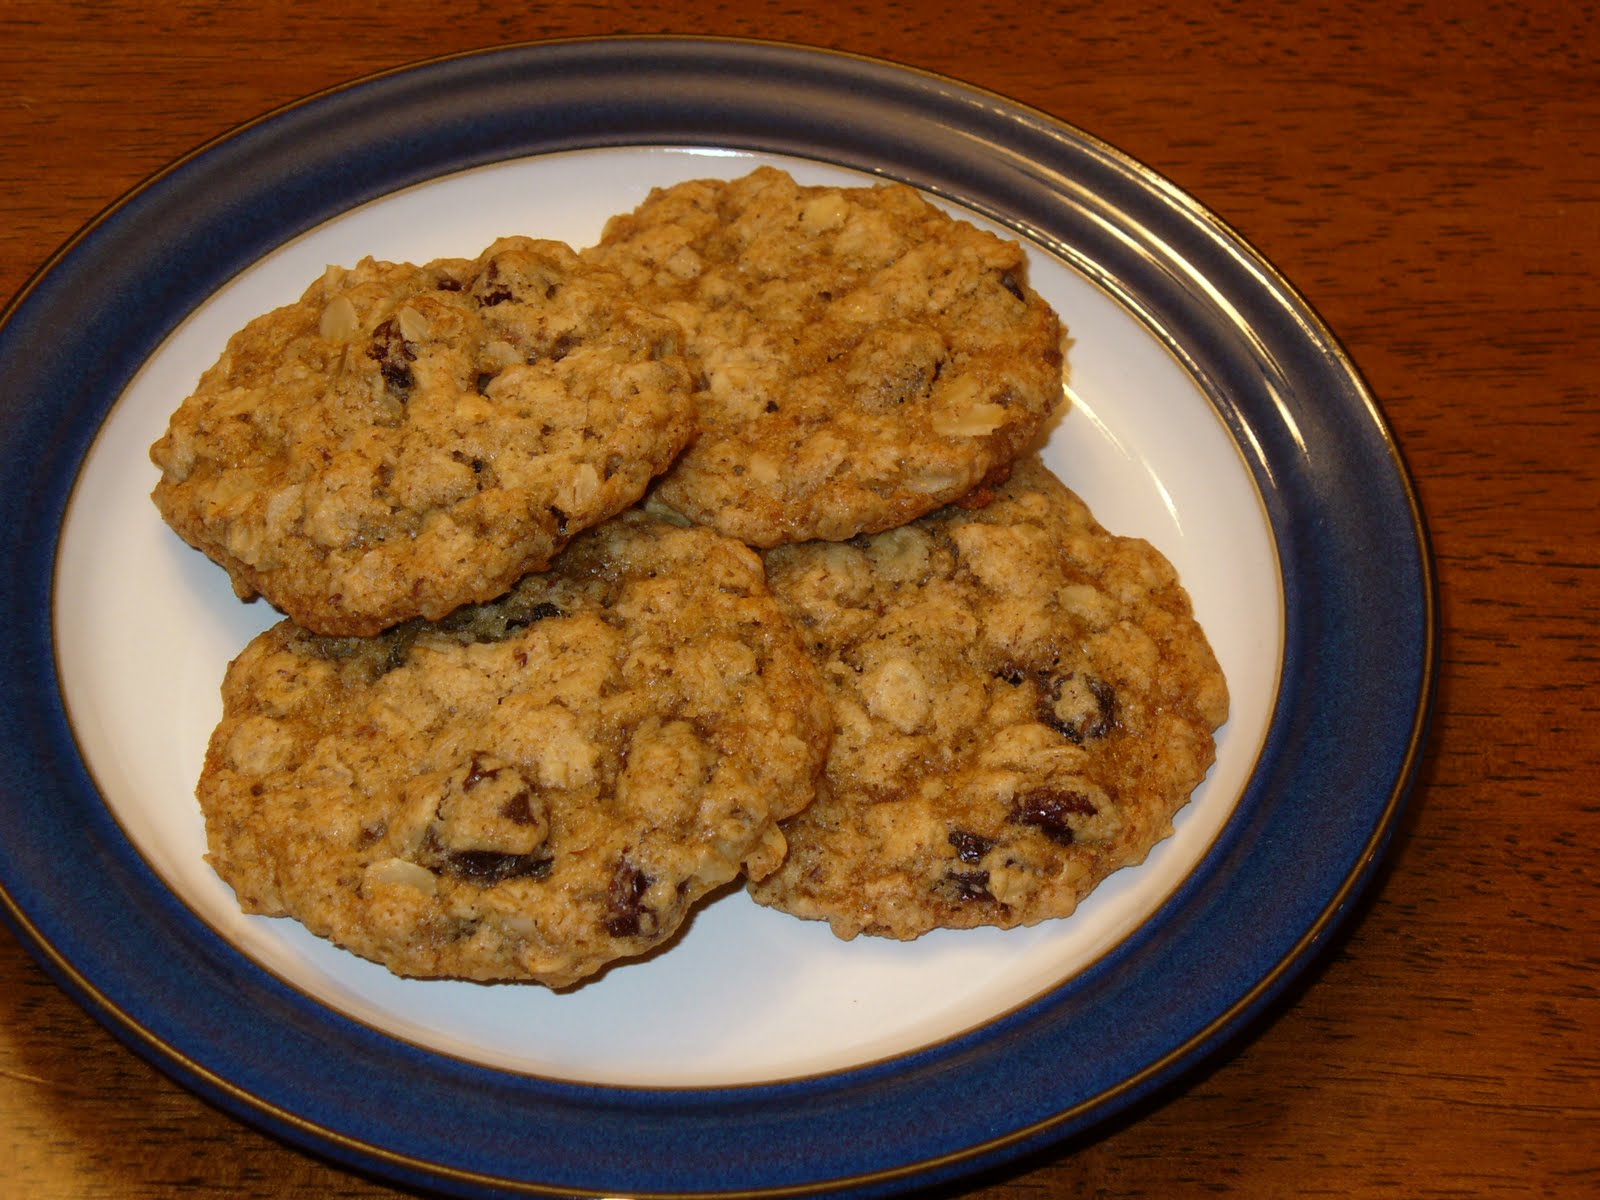
These oatmeal cookies are crispy on the outside and slightly chewy on the inside. If you prefer chewier cookies, use just 2 tablespoons of canola oil and add 1 tablespoon of maple syrup. I adapted this recipe for chewy vegan oatmeal raisin cookies.

Oatmeal Raisin Cookies
makes about 12 cookies

Ingredients:

  • 3/4 cup Bob's Red Mill Gluten-free rolled oats
  • 1/4 cup and 2 Tbsp. Bob's Red Mill Gluten-free flour
  • 1/4 tsp. baking soda
  • 1/8 tsp. sea salt
  • 1/4 tsp. ground cinnamon
  • 1/4 cup brown sugar, packed
  • 2 Tbsp. granulated white sugar
  • 2 Tbsp. applesauce
  • 1/2 Tbsp. (which is 1 and 1/2 tsp.) ground flax seed meal. I use Bob's Red Mill brand.
  • 3 Tbsp. canola oil
  • 1/4 cup raisins
Instructions:

Preheat the oven to 350 degrees. Line a cookie sheet with parchment paper.

Pour 1/4 cup of the oats into a medium bowl. Take the other 1/2 cup of oats and chop them briefly in a food chopper. Pour the chopped oats into the bowl. Add the flour, baking soda, sea salt, and cinnamon. Stir and set aside.

In a small bowl stir together the brown sugar, white sugar, applesauce, flax seed meal, and canola oil. Then pour the wet ingredients into the medium bowl with the dry ingredients. Stir just until incorporated. Then stir in the raisins.

Place tablespoonfuls of the dough onto the parchment paper-lined baking sheet. Bake at 350 degrees for 12 minutes, or until the cookies are golden brown. Let the cookies cool for about 5 minutes on the cookie sheet. Then transfer them to a cooling rack.

Friday, January 28, 2011

Chocolate Chip Banana Muffins


Here is my latest muffin recipe. I am so happy to come up with another recipe for muffins that are egg-free and still rise so nicely. Plus, banana and chocolate chips go so well together. It's another great comfort food combination for these cold winter months.

I had to increase the amount of chocolate chips to 1/3 cup because Naomi really prefers to have a least one chocolate chip in every bite. (She's not the only one, though, I confess.) Feel free to use just 1/4 cup of chocolate chips if you prefer. For the muffins to be moist enough, the recipe needs a full 1/2 cup of mashed banana. If your banana doesn't quite make 1/2 cup, add 1/2 tablespoon more canola oil. The banana should also be ripe or even over-ripe, otherwise the muffins won't be as sweet as you might prefer.

Chocolate Chip Banana Muffins
makes 6 muffins

Ingredients:

  • 1/4 cup warmed rice milk
  • 1 Tbsp. and 1 tsp. ground flax seed meal. I use Bob's Red Mill brand.
  • 1 cup and 2 Tbsp. Bob's Red Mill Gluten-free flour
  • 3/4 tsp. baking soda
  • 1/4 tsp. sea salt
  • 1/4 cup brown sugar, packed
  • 1 large ripe banana that makes 1/2 cup when mashed
  • 2 1/2 Tbsp. canola oil (1/2 Tbsp. is equivalent to 1 and 1/2 tsp.)
  • 1 tsp. apple cider vinegar
  • 1/2 tsp. vanilla extract. Use Trader Joe's alcohol-free vanilla extract or another vanilla extract that does not have corn syrup and is preferably alcohol-free, since the alcohol could be derived from corn. Recently I have been using Rodelle Vanilla Flavor alcohol free all natural extract, which I found at Stop and Shop.
  • 1/3 cup dairy-free chocolate chips. Some dairy-free brands are Trader Joe's, Ghirardelli, and Enjoy Life semi-sweet chocolate chips.
Instructions:

Preheat the oven to 375 degrees. Grease 6 cups in a muffin tin with canola oil. Heat the rice milk in the microwave. Then stir in the flax seed meal and set aside.

In a medium bowl sift the flour using a sieve or flour sifter. Stir in the baking soda and salt.

In a small bowl combine the milk and flax seed mixture with the brown sugar. Then stir in the mashed banana, canola oil, apple cider vinegar, and vanilla extract. If the amount of mashed banana you have is a little under 1/2 cup, add 1/2 tablespoon more canola oil.

Pour the liquid ingredients into the bowl with the dry ingredients and stir just until all traces of flour are gone. Stir in the chocolate chips and then spoon the batter into the muffin tin cups. Bake for 15 to 17 minutes, or until a toothpick inserted into the middle of one of the muffins comes out clean. Remove the muffins from the tin immediately and let cool on a cooling rack.

Saturday, January 22, 2011

Chocolate Chip Maple Brownies


Another food that I find especially comforting in the winter is chocolate. Actually, I think of chocolate more as a food group rather than a single food. And recently I have had a craving for chocolate in the form of brownies. For almost a year now I have been in pursuit of an excellent egg-free brownie. A couple of months ago I stumbled upon a blog posting for egg-free brownies with maple syrup. The recipe looked promising, so I tried it. Eureka! After so many failed attempts at egg-free brownies, finally one that worked! Below is my version of the recipe, modified to make it also free of wheat, corn, and soy.

Chocolate Chip Maple Brownies
makes 16 brownies in an 8"x8" pan

Ingredients:

  • 1/4 cup rice milk
  • 1 Tbsp. and 1 tsp. ground flax seed meal. I use Bob's Red Mill brand.
  • 1 cup Bob's Red Mill Gluten-free flour
  • 1/2 cup unsweetened cocoa powder. I use either Ghirardelli's or Trader Joe's brand.
  • 1/4 tsp. sea salt
  • 1/4 tsp. baking soda
  • 1/2 tsp. cream of tartar
  • 1/2 cup packed light brown sugar
  • 1/2 cup pure maple syrup. Use grade A maple syrup, unless you want a stronger maple flavor, in which case grade B syrup is fine as well.
  • 1/3 cup canola oil
  • 2 tsp. vanilla extract. Use Trader Joe's alcohol-free vanilla extract or another vanilla extract that does not have corn syrup and is preferably alcohol-free, since the alcohol could be derived from corn. Recently I have been using Rodelle Vanilla Flavor alcohol free all natural extract, which I found at Stop and Shop.
  • 1/4 to 1/2 cup dairy-free chocolate chips. I used Ghirardelli semi-sweet mini chocolate chips, although you could also use the regular size. Some other dairy-free brands are Trader Joe's and Enjoy Life semi-sweet chocolate chips.
Instructions:

Preheat oven to 350 degrees. Line an 8"x8" Pyrex pan with aluminum foil, using enough so that the foil extends over the edge on two of the sides. (This will make it easier to remove the brownies when they are done.) Lightly grease the bottom and sides of the foil with canola oil. Heat the rice milk in the microwave until it is warm. Stir in the flax seed meal and set aside.

In a medium bowl sift the flour, cocoa powder, baking soda, cream of tartar, and sea salt using a sieve or flour sifter. Then stir the ingredients with a spoon to make sure that they are thoroughly combined.

In a small bowl combine the brown sugar and rice milk with flax seed meal. Heat the maple syrup until it is warm, and add it to the bowl. Then pour in the canola oil and vanilla extract. Stir all of the wet ingredients together.

Pour the wet ingredients into the bowl with the dry ingredients. Stir just until all traces of dry ingredients are gone. Pour the batter into the prepared pan and spread smooth with a spatula. Sprinkle the chocolate chips on top of the batter; then place the pan in the oven. Bake for 30 minutes, or until a toothpick comes out clean.

Place the pan on a wire rack to cool. Let the brownies cool in the pan for 30 minutes. Then grab hold of the foil to remove the brownies and the foil lining from the pan. Place the foil, with the brownies still in it, on the cooling rack and let the brownies continue to cool for another hour and 30 minutes. Then transfer the brownies and foil to a cutting board. Cut the brownies using a table knife. (A sharper knife tends to tear the brownies.)

I know from personal experience that it's very difficult to wait the full 2 hours before cutting the brownies, but they will crumble less and look much better if you do. If you don't care how the brownies look when they're cut, go ahead and dig in after just 30 minutes.

Friday, January 14, 2011

Olive Oil Mashed Potatoes


I know it's been a while since my last post, but the girls and I have taken turns being sick for the past 3 weeks. I haven't been up for trying many new or fancy recipes; instead, I've been wanting comfort food. And nothing feels like comfort food to me more than mashed potatoes. The problem with mashed potatoes, however, is that they usually contain lots of dairy products in the form of butter and cream, or milk if you're trying to make them a little healthier. That much dairy just isn't good for me or the girls to consume on a regular basis. Not wanting to renounce mashed potatoes, I first came up with a version using clarified butter and Lactaid milk. They are good, but they still have a fair amount of milk. The other issue with that recipe is that often I'm too lazy to clarify the butter.

So I wanted to try to come up with an easier alternative that would still have the right mashed potato consistency and a good flavor. First I tried a Cook's Illustrated recipe for garlic and olive oil mashed potatoes. These were okay, but Michael didn't want to come near me for days afterward because of the lingering garlic aroma. So I tweaked the recipe quite a bit, and now we have delicious olive oil mashed potatoes with just a hint of garlic. Sometimes I also add in a couple tablespoonfuls of sour cream, which gives the potatoes a great creamy flavor. However, the sour cream is not necessary, especially if you are going to use the mashed potatoes to soak up any extra sauce or gravy on your plate.

This recipe is for rustic mashed potatoes, with potato skins and a few lumps in the finished product. If you would like to make more refined mashed potatoes, peel the potatoes before placing them in the water, and use a potato ricer or a mixer to mash them.

Olive Oil Mashed Potatoes
serves 3 adults, or 2 adults and 2 small children

Ingredients:

  • 1/4 cup olive oil (not extra-virgin)
  • 1/4 tsp. minced garlic
  • fresh herbs, such as rosemary or thyme (optional)
  • 1 1/2 lb. Yukon Gold potatoes. These mashed potatoes really do need the Yukon Gold variety. Other kinds of potatoes just don't work as well or taste as good.
  • 1 Tbsp. kosher salt (or sea salt)
  • 1/4 tsp. ground black pepper
  • 1/2 tsp. sea salt
  • 2 Tbsp. sour cream (optional). Use a full-fat sour cream, like Daisy brand, that contains only cream and no added milk or other ingredients.
Instructions:

Combine the olive oil and minced garlic in a small bowl. If you have any fresh herbs, you can chop them finely and add them to the olive oil as well.

Rinse the potatoes and cut into approximately 1-inch cubes. I usually cut them down the middle length-wise and then in 1-inch sections width-wise. Place the cut potatoes in a medium pot and fill with water until the water covers the potatoes by about 1 inch. Add 1 tablespoon of kosher salt and stir. Place the pot over high heat and bring the water to a boil.

When it reaches a boil, turn the heat down to medium-high and let the potatoes simmer vigorously for 10 minutes. Check to see if the potatoes are done by inserting a knife. If there is some resistance, simmer for up to 5 more minutes. If there is no resistance, pour the potatoes into a colander. Let the potatoes sit in the colander for a couple of minutes to dry them out a bit. Then return the potatoes to the empty pot. Use a potato masher to mash the potatoes. Pour in the olive oil and continue to mash until the potatoes reach the desired consistency. Then stir in the black pepper, salt, and sour cream, if desired.